
DIY Custom Bike Stand Build. How to Build your own bike rack to store bikes inside your home. Our Bike stand holds up to 5 bikes, and cleared up so much space in our bike room. It is completely self-supported without any drilling into the walls. (So we don’t lose our security deposit haha).
Since getting married and moving into our new apartment here in Japan, our bike count increased to 7 between the two of us.. Things were getting a bit out of hand and it was clear we needed to build some sort of custom bike stand to fit all of our bikes in our apartment.
Fortunately, our new apartment has an extra room. We decided to dedicate this room to be half bike room and half a work/study space. Here is a picture of the room when we first moved in.
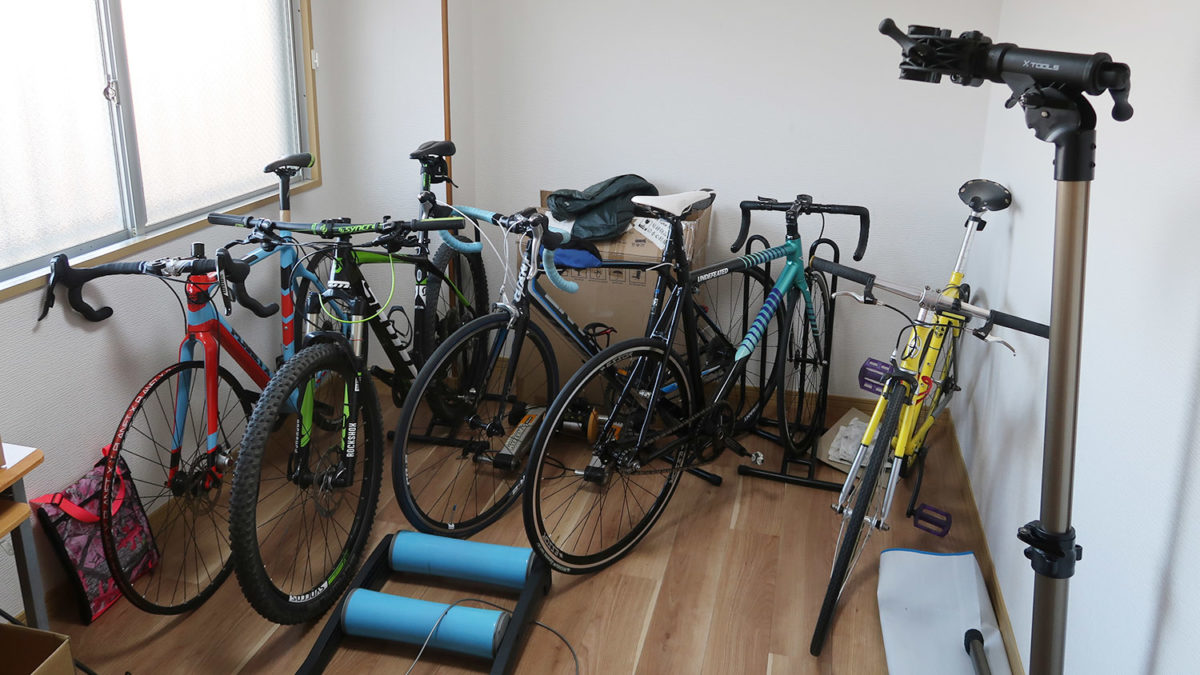
As you can see, this didn’t leave much room for other things on the room. Also, getting the bikes out was a bit of a hassle.. Thus begins project DIY Bike Stand!
We didn’t have a super solid plan in mind before building the rack, but we had a pretty rough idea of what materials we needed.
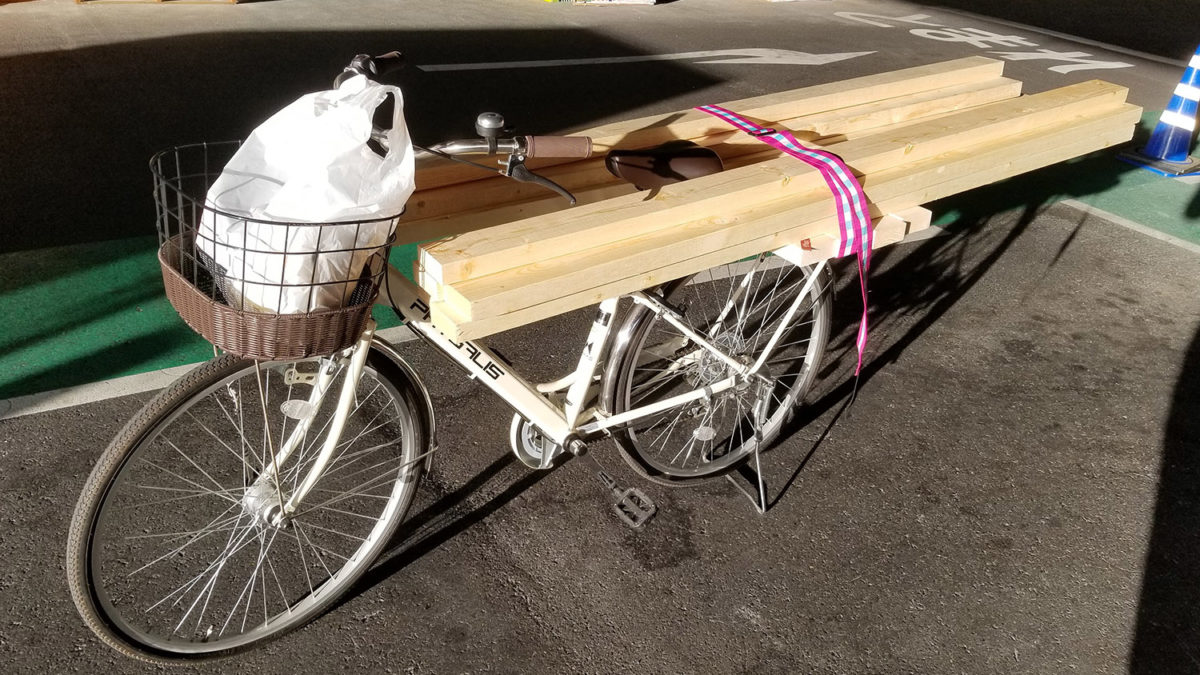
Our first stop was to our local home center, where we bought a bunch of 2×4 wood planks that were about the same length as our ceiling height. The length of these does not matter so much, but it is important that they are a bit longer than the length of your bike (for obvious reasons).
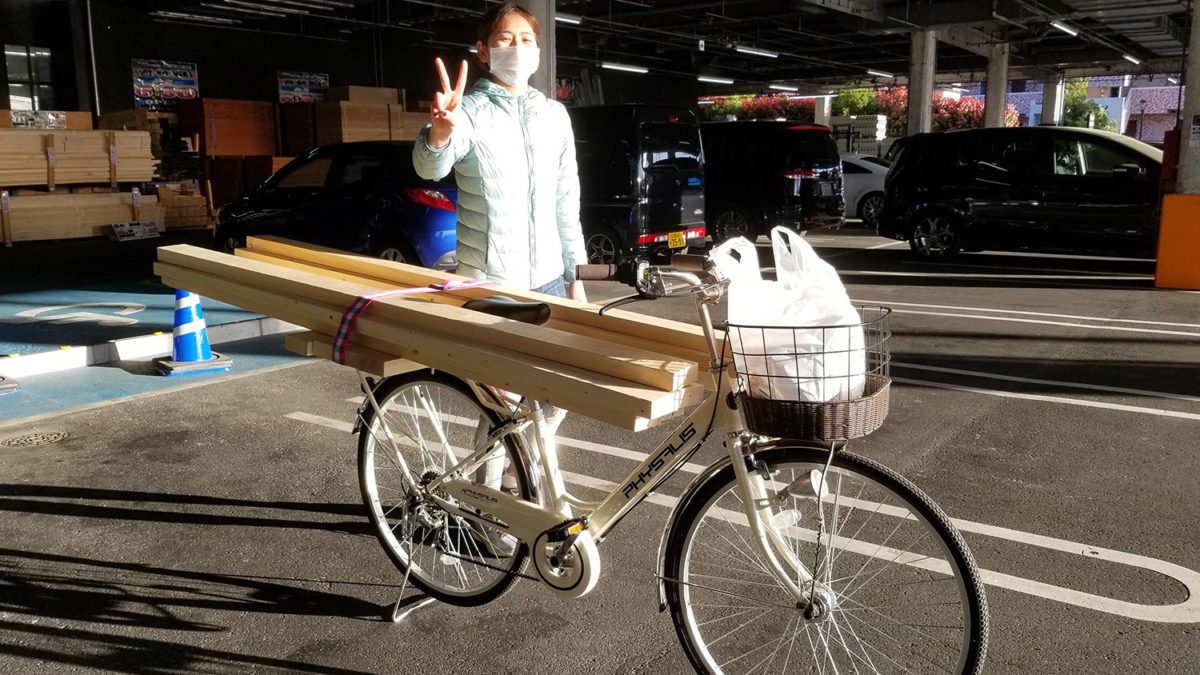
We carried the wood back on our “mama-chari” bicycle, which has proven to be a very useful tool throughout this moving process. The rest of the tools we were mostly able to buy off of amazon.
The wood actually ended up being just a few inches too long for our room, so we had to cut them down a tad bit. Luckily we had bought a fun little handsaw and some clamps to get that job done.

Start Building The Bike Rack
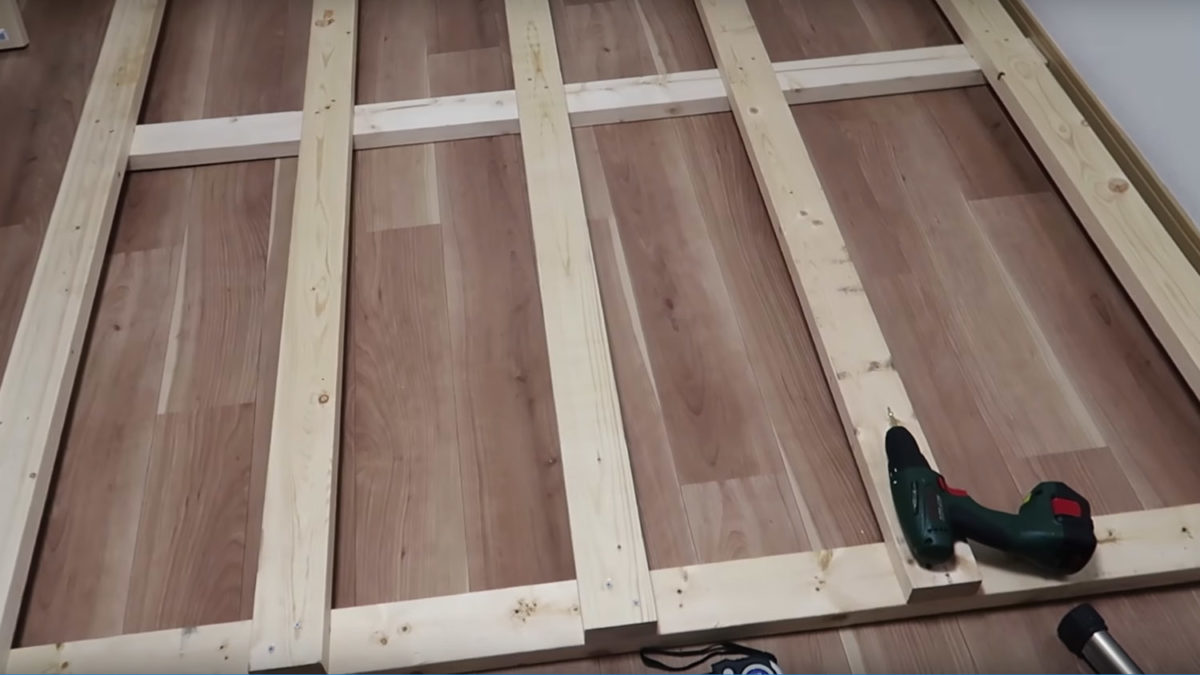
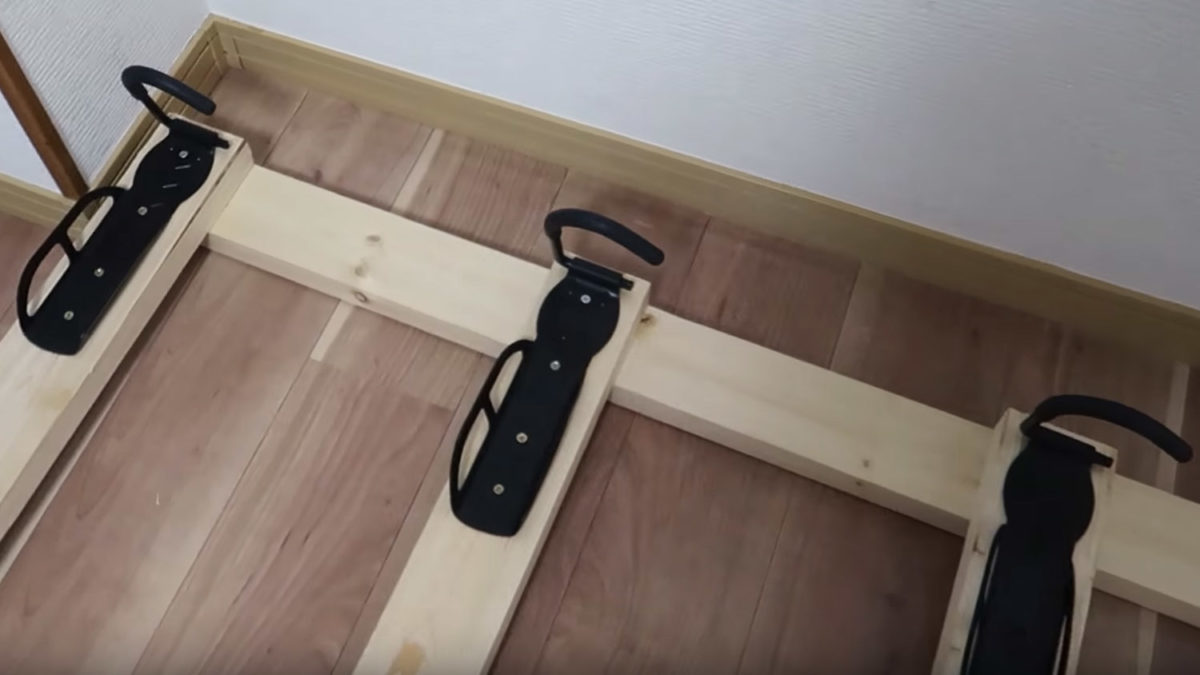
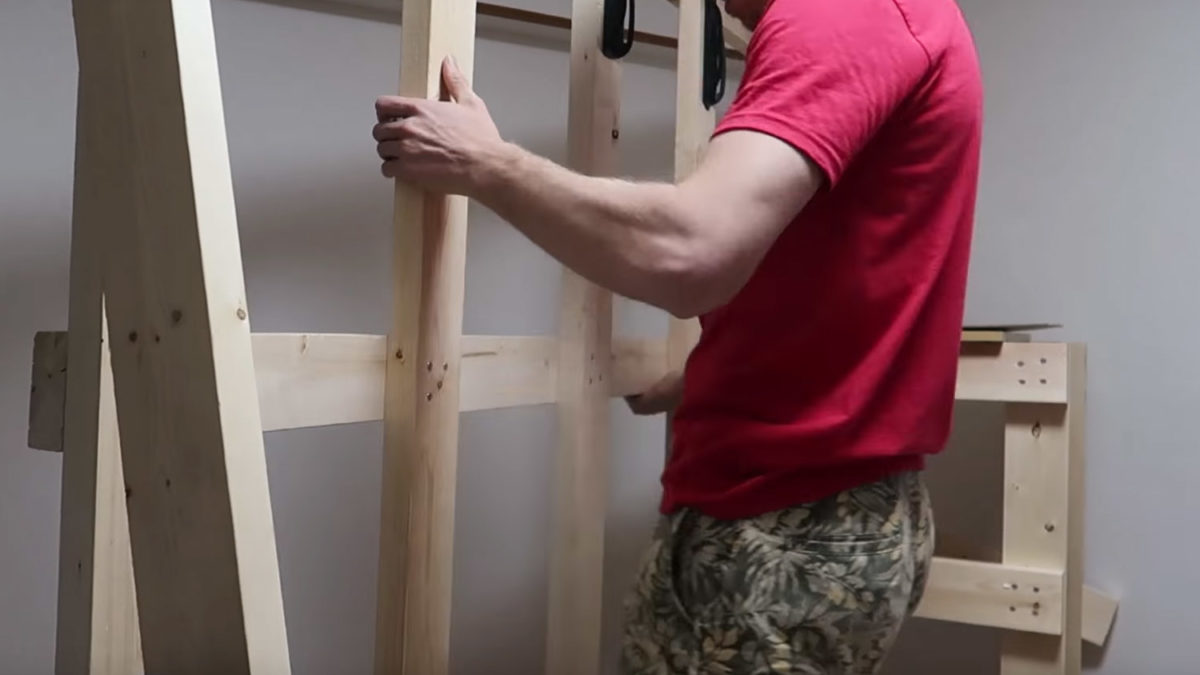
Once we cut the wood down to size, we were able to start assembling the base that would stand against the wall. We did this on the ground first to get everything lined up nicely and the screws drilled in easily. Each vertical plank (front side) is intended to be a single support for each bicycle. The horizontal planks (back side) are just extra support to keep everything locked together.
The spacing between each vertical plank is up to you and your bike sizes. We went with a wider spacing, so it’s easier for us to get the bikes out, but you can go with a more narrow spacing to save more space. Just measure your handlebar width and add a few inches to figure out the spacing you need.
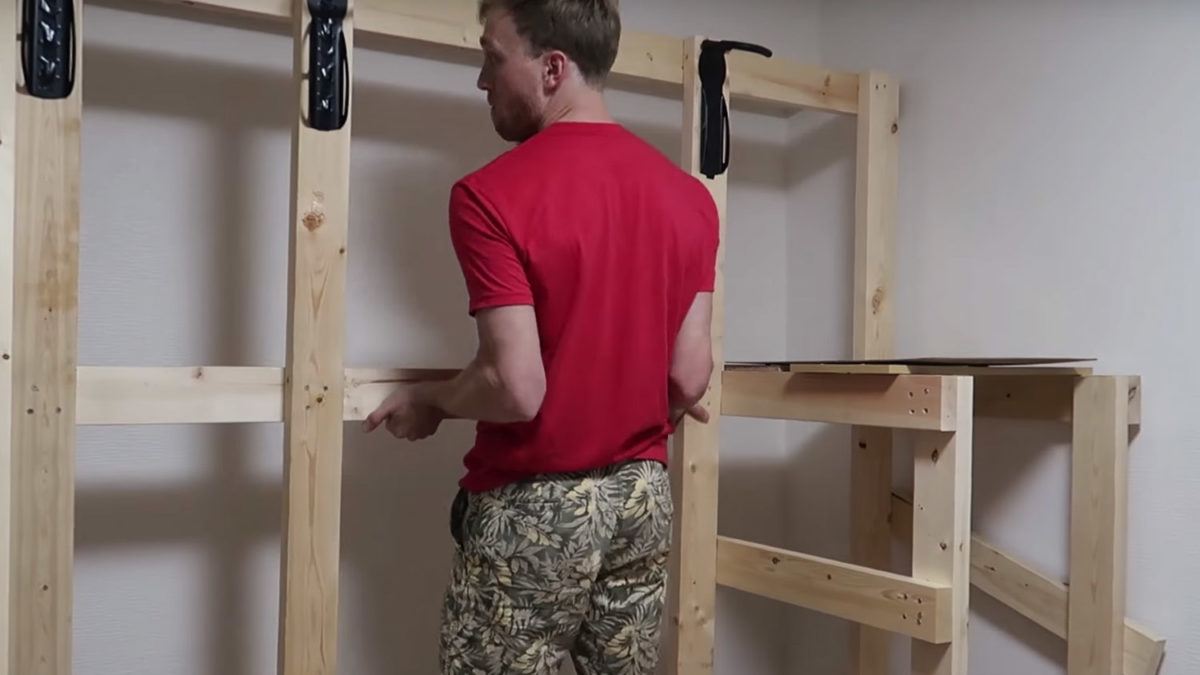
The next step is to attach the hooks to the top of each vertical blank. Make sure to measure the distance from the hook to the ground and check that it is longer than the length of your bicycle from front tire to back tire.
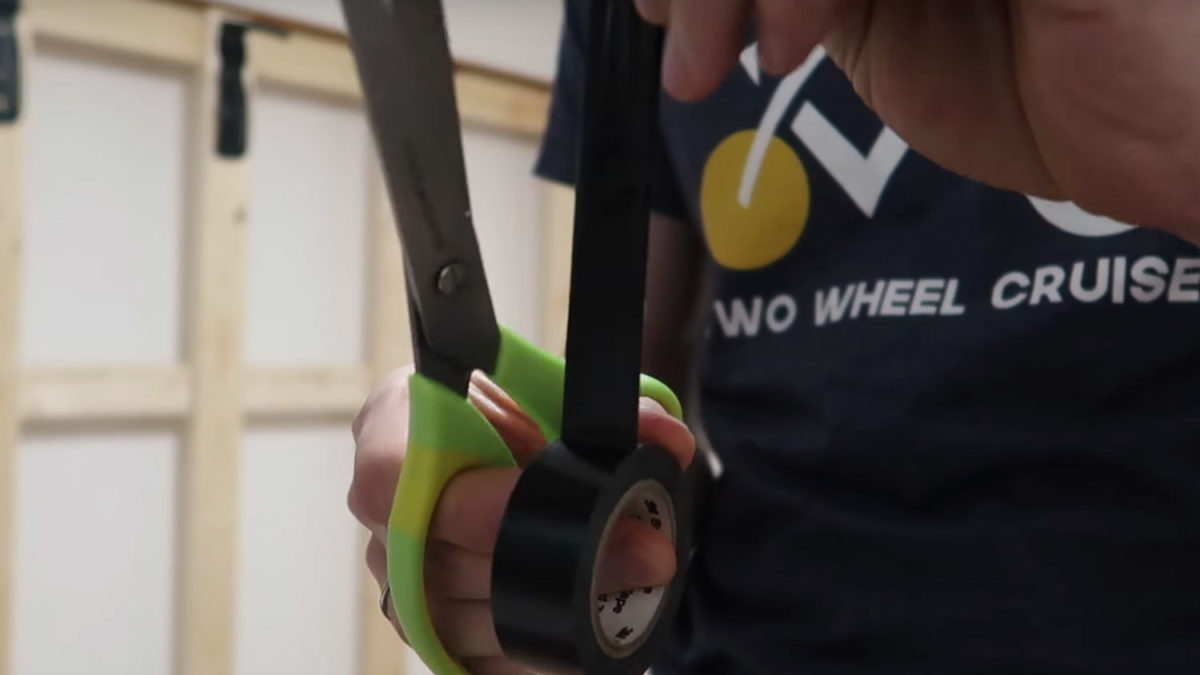
We also added some electric tape to cover the screws that were drilled into the bike rack hooks for extra protection from loose metal punctures.
Things are looking good so far, but we still need some extra support on the sides..
Building Extra Support
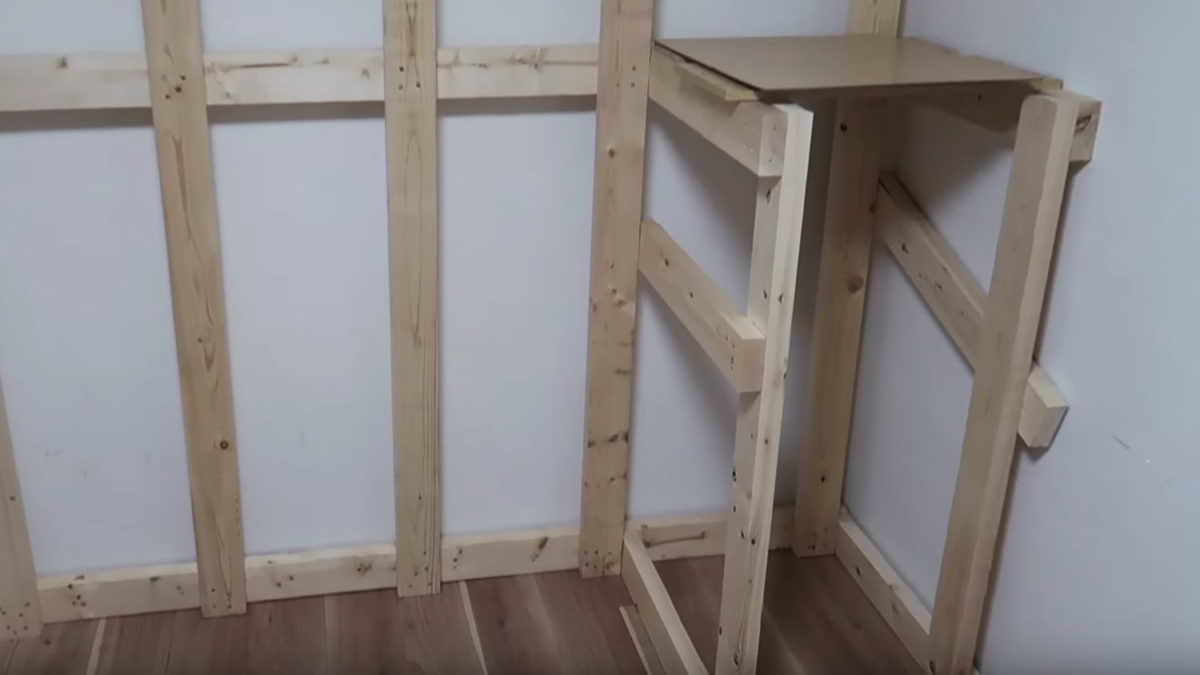
The easiest solution for support is triangle style, but I wanted to leave space for a small table on the right side. That way, I could still tuck one more bicycle under the table, and store things on top. Here you can see the first steps for building this.
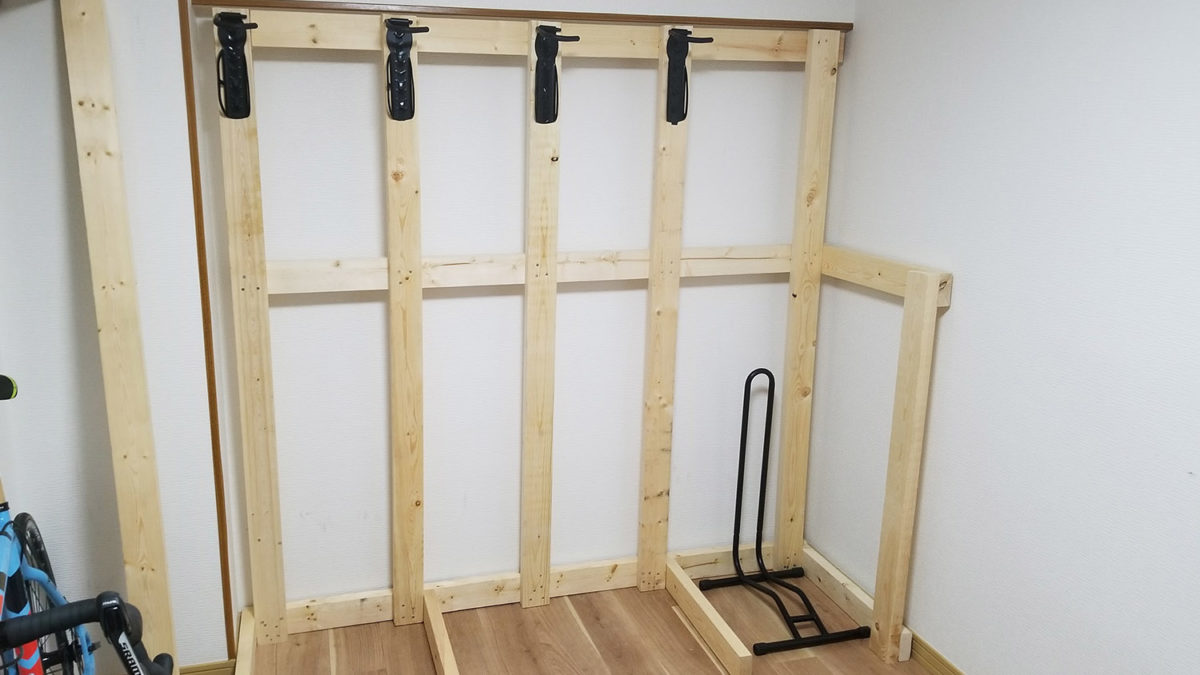
And the final result for the right table support.
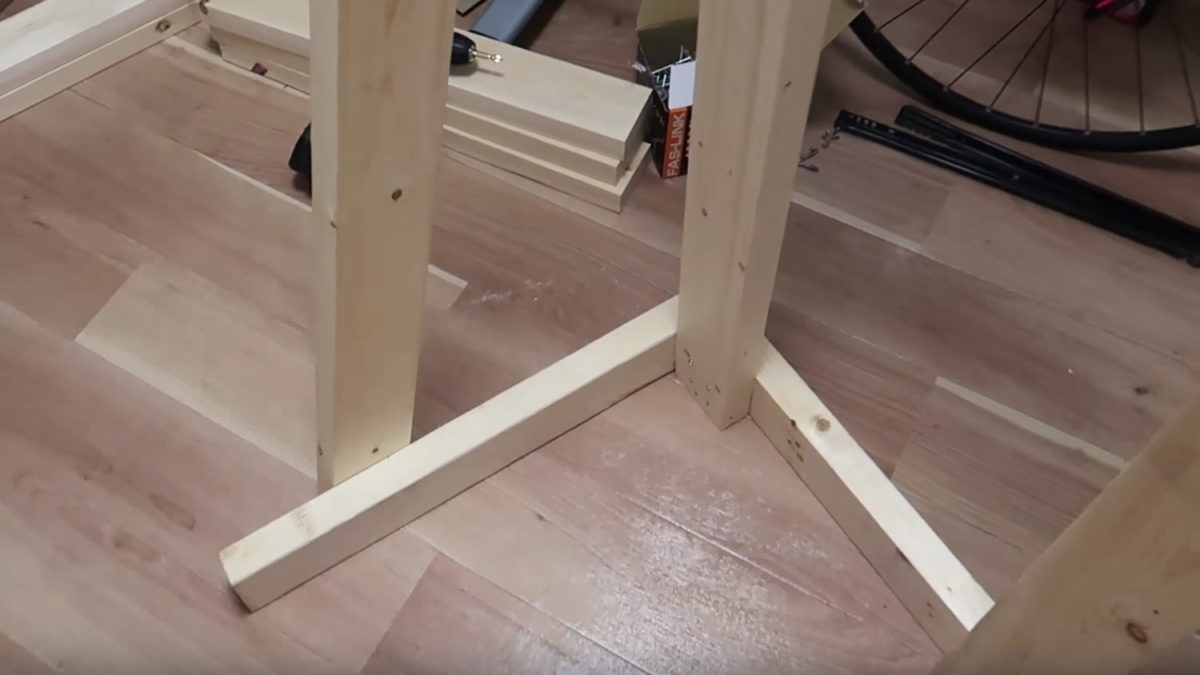
And we went with the simple triangle style on the left side to balance out the rest of the support.
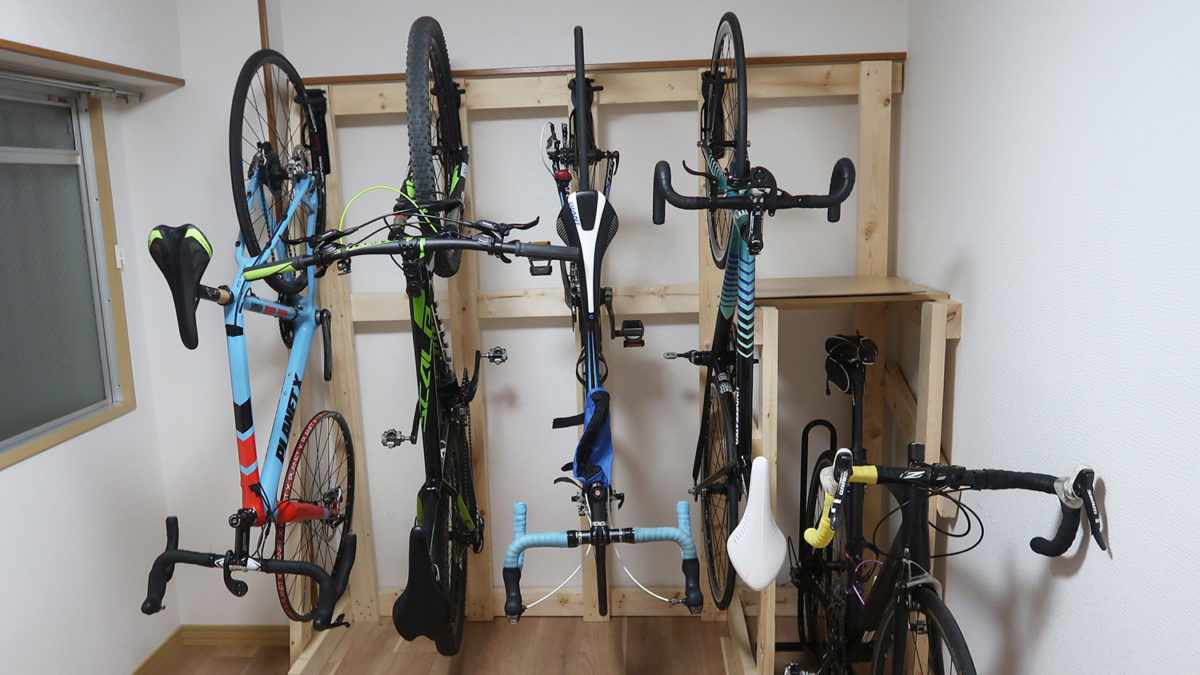
Now that the support is added, all that’s left is to push it into position against the wall and load the bikes up..
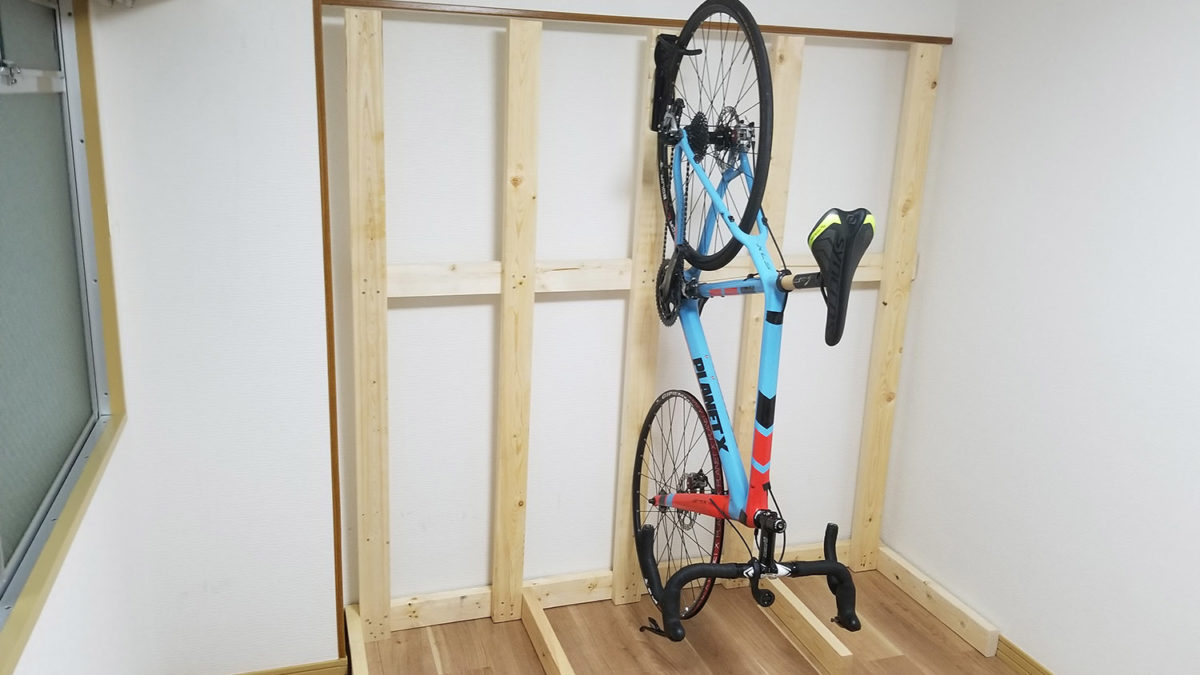
Bike Stand Frontal view
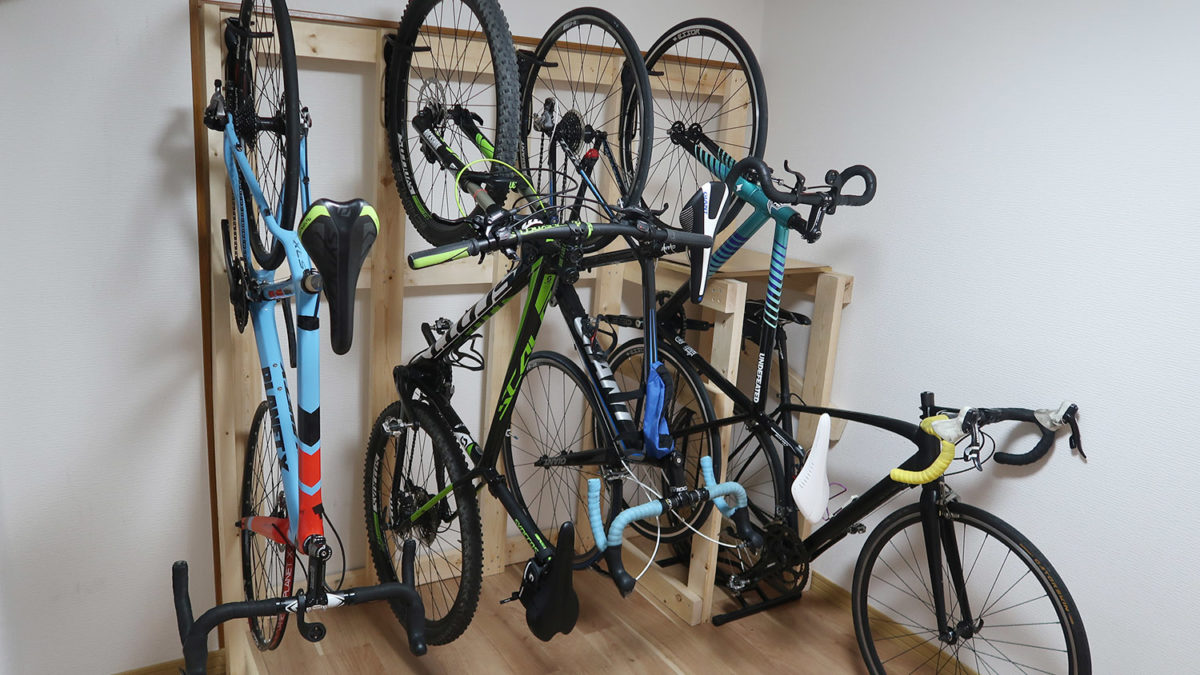
Side angle view
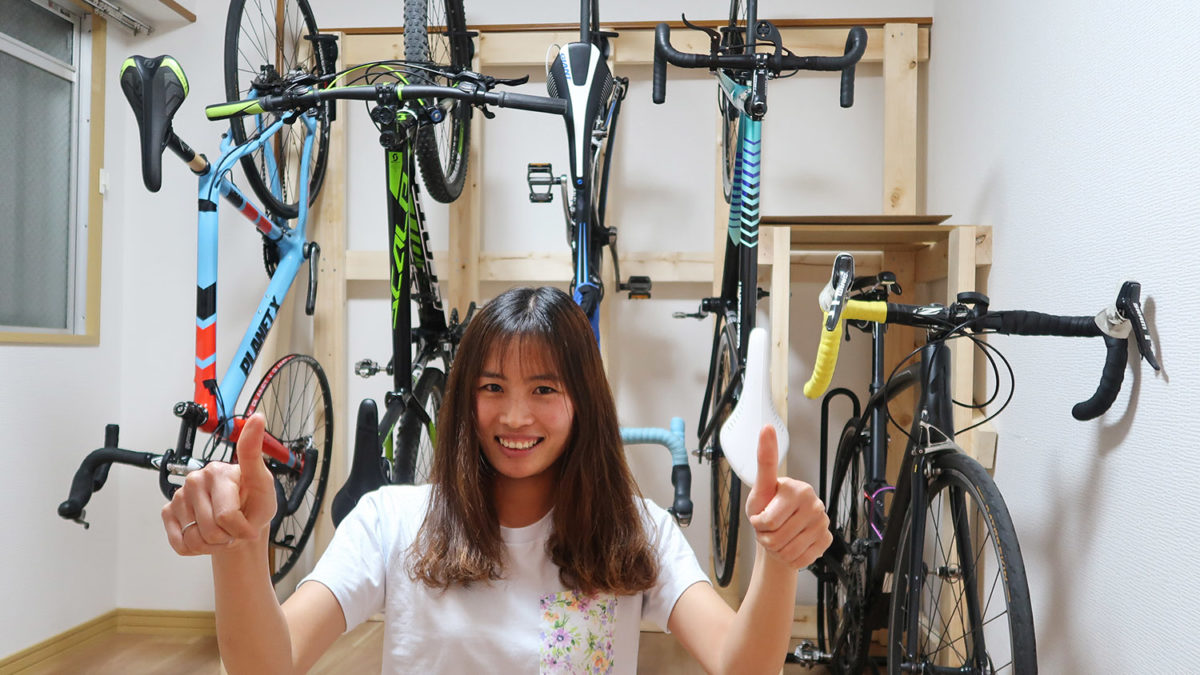
Final Thoughts
Overall, I am very happy with the finished product, and I got my wife’s seal of approval, which is a big plus.
We’ve now got a lot of space to spare, and managed to fit a desk for study/work into the room as well. In fact, I’m writing this blog post in this very room, so it’s already being put to good use 🙂
Tools Used
- Handsaw
- Power drill / screwdriver
- Clamp
- Sandpaper
- Measuring tape
- Marker pen
Materials Used
- 2×4 Wood (5 long vertical, 3 support horizontal, 1 support diagonal, extra shorter pieces for building table)
- Screws (65mm)
- Bike Hooks / alternative hooks
- Electric Tape
- Imagination
Check out our video for this project for more in depth detail on our process.